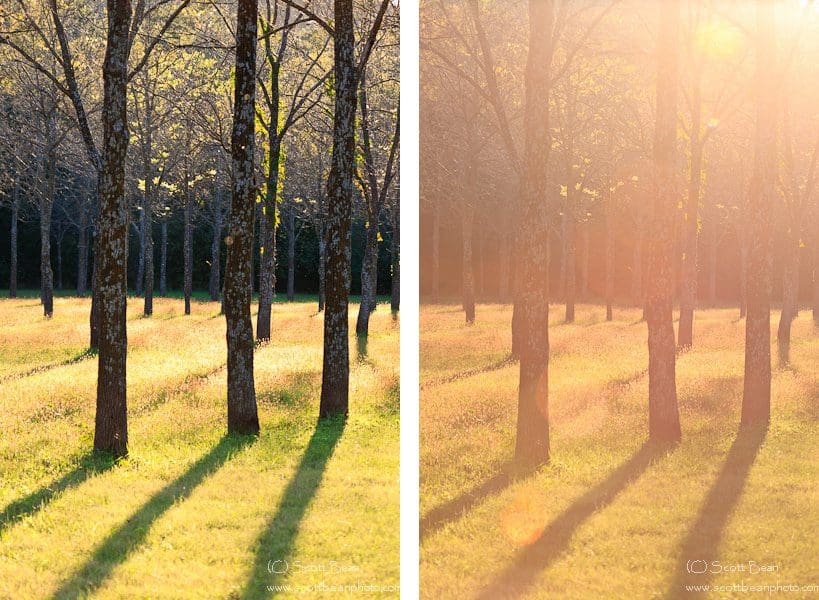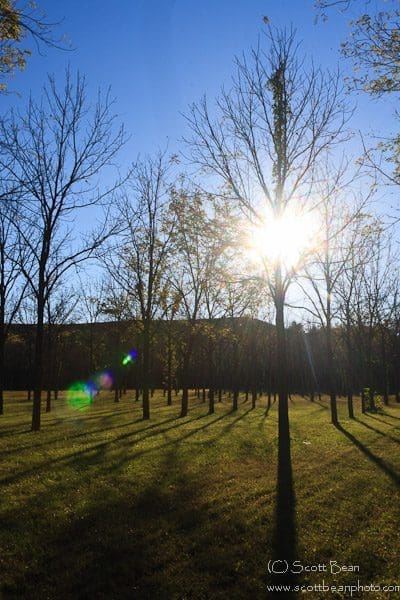
The photo above was taken last weekend at Wildcat Park. I’m shooting right into the sun for this shot to demonstrate how to make a “sunburst” effect with the sun for my photography class. Very noticeable in this photograph are the colored shapes on the left side of the photograph. These spots are “lens flare” and are caused by stray light from a bright source (in this case the sun) that is reflected around inside the lens before being recorded by your camera. Lens flare can take on a number of different shapes and colors and often will adopt the shape of the aperture of the lens. Cambridge in Colour has a good article on lens flare if you want to read all the nitty gritty details about this phenomenon.
Some people like lens flare, some people hate it. Sometimes it can be used to really enhance a photograph and sometimes it can completely ruin one.
So what do you do about lens flare if you don’t want it in your photograph? The best thing you can do is use your lens hood. Lens hoods are designed to shade the front element of your lens and prevent stray light from entering the lens. Hoods also offer some protection for your lens if you drop them. Sometimes though the lens hoods just won’t work, like in the example above. If your hood isn’t doing the job you can try and shade your lens with your hand, hat, or piece of paper. You can even use a “flare buster” (I’ve never used one, I have no idea how well they work). Often I use my hat to shade the lens when the lens hood isn’t doing the job. It can be tricky with a wide angle lens to effectively shade the lens with your hand (or hat) and not end up with it in the photograph. Sometimes you may just have to live with lens flare or process it out later, though that can be tricky if the flare is over a highly detailed part of your photograph. Best to deal with it at the time if you can.
Shading your lens can also improve the color and contrast of your photographs. In the example above, I shaded the lens with my hand (and had the lens hood on) for the photograph on the left and the photograph on the right was shot only with the lens hood on. Shading the lens has a huge effect on the color and contrast of the photograph on the left.
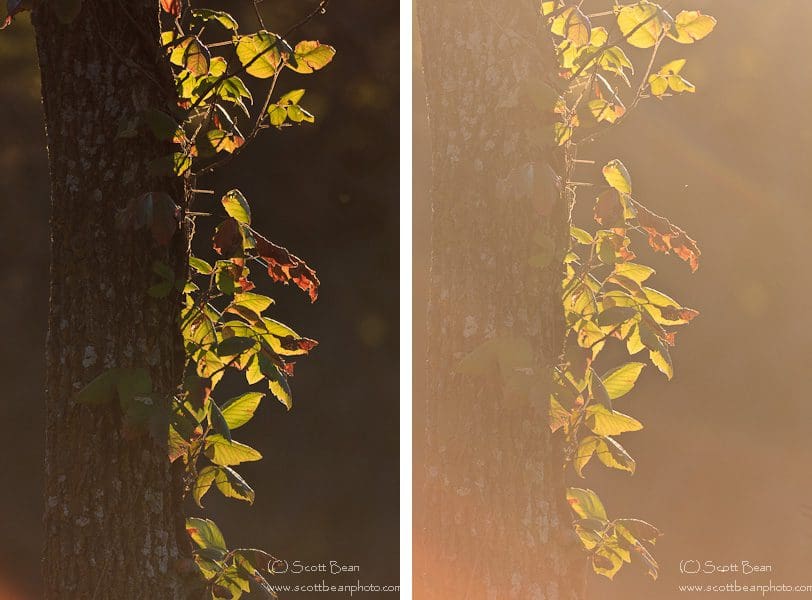
The photograph above is another example of the effect of shading your lens. Again, the photograph on the left was taken while I was shading the lens with my hand (and using the lens hood) and the photograph on the right was taken using only the lens hood. Note these two examples are pretty extreme cases, many times your lens hoods will work just fine (but only if you use them!).
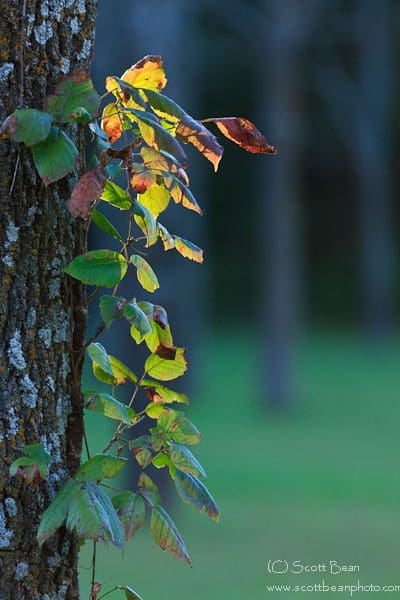
Sometimes you may have to move or wait for the light to change to reduce or eliminate lens flare. The photograph above is the same as the previous example, but I moved so I wasn’t shooting so directly into the sun. There was also a few minutes between these photographs and the sun had started setting below a hill and the light wasn’t as intense for this second photograph.
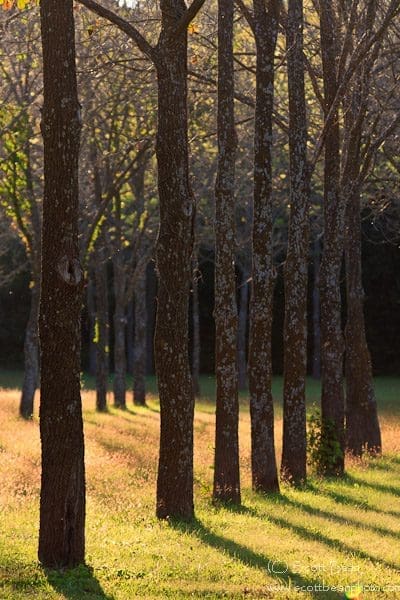
Wildcat Park has a clearing planted with (I think) black walnut trees in rows which makes for some striking lines and shadows at times. You can also get down into Wildcat Creek on one side of the park. If you haven’t been there fall is a good time to check it out.

